Tldr: build a small usb-c power fan to exhaust soldering fumes.. See finished model on Printables for parts list and brief assembly instructions as well as my print settings. Inspiration
I needed a small battery powered fan for when I am soldering. I was inspired by a couple of different designs on Printables.
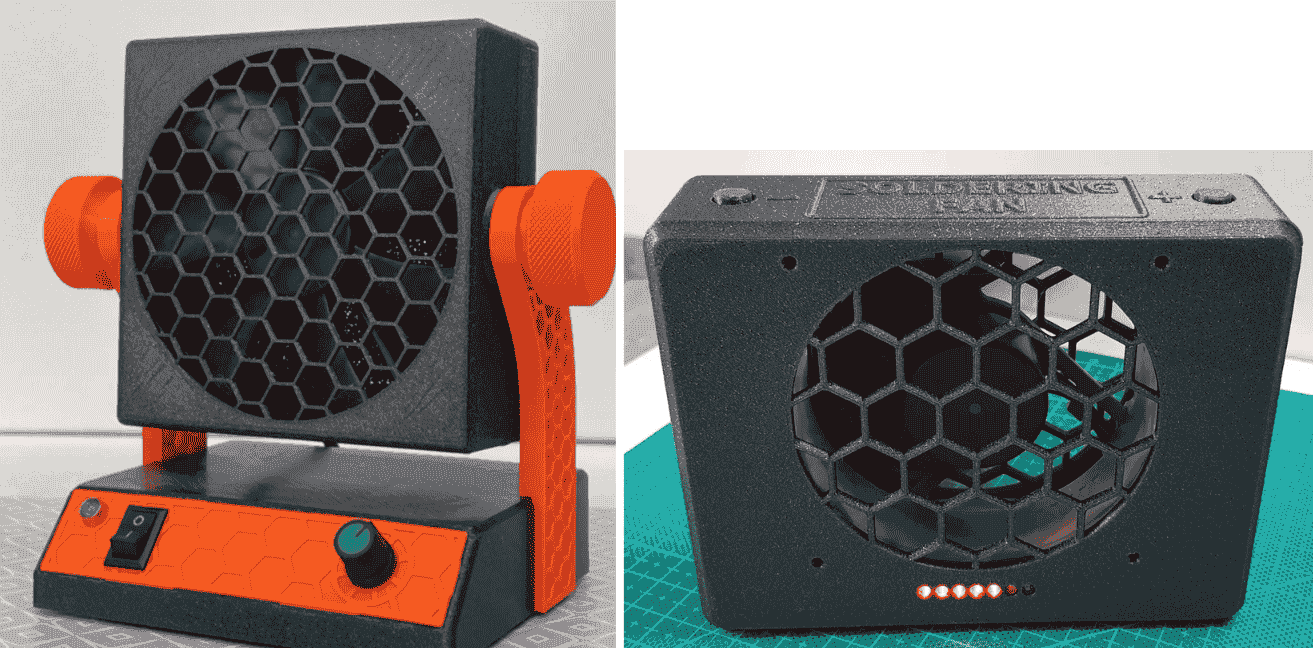
Originally I was going to use the first design but decided that it was a bit too complicated with all the different pieces you needed to print. I decided to make something with the same fan, a 120mm Noctua fan but in the style of the second one. My main design decision was to make it as simple as possible to accommodate different electronics in the bottom compartment. Another design decision that I made was to not have an internal battery because in my soldering kit I have a large power bank that I use to power the soldering iron and was going to use it to power the fan as well. This simplifies the design and makes it so I only have to charge one battery.
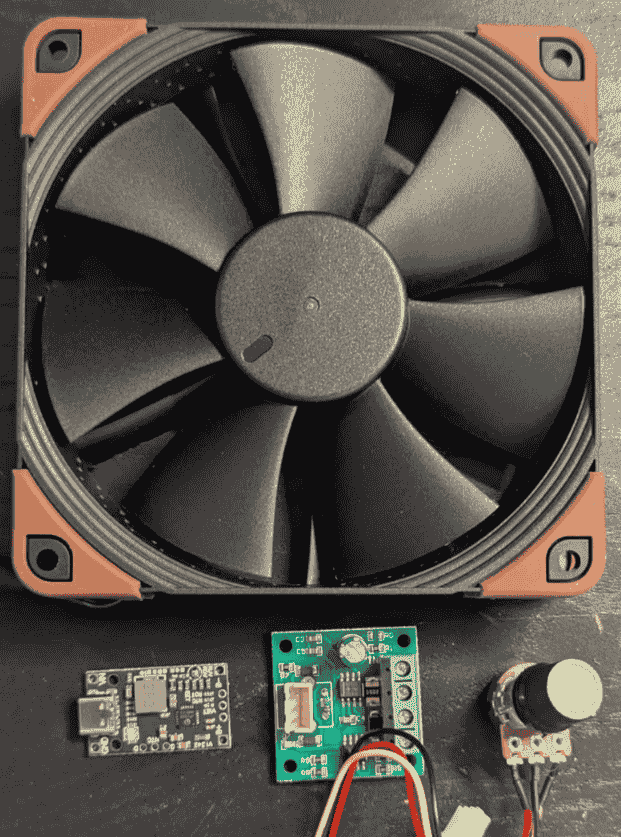
I ordered most of the parts from the first one. That being the fan, a pwm controller, and a 3s usb-c battery charger. But since I had decided not to include a battery I could just use the charger as a usb-c power plug. I laid everything out on the bench and got to designing.
The first prototype was not that difficult to design in principle but the thing is that I only know AutoCAD, and if you know anything about 3D CAD programs, then you know… AutoCAD isn’t really one. Meaning AutoCAD can make 3D designs but it’s not easy to make changes after making the design. The first design was basically 80% there, then I spent another day polishing everything. I added spots for threaded inserts for the back to attach, increased the size of the usb-c port hole to accommodate the male cable, added holes to screw the fan into the base of the model, and a bunch of other little details.
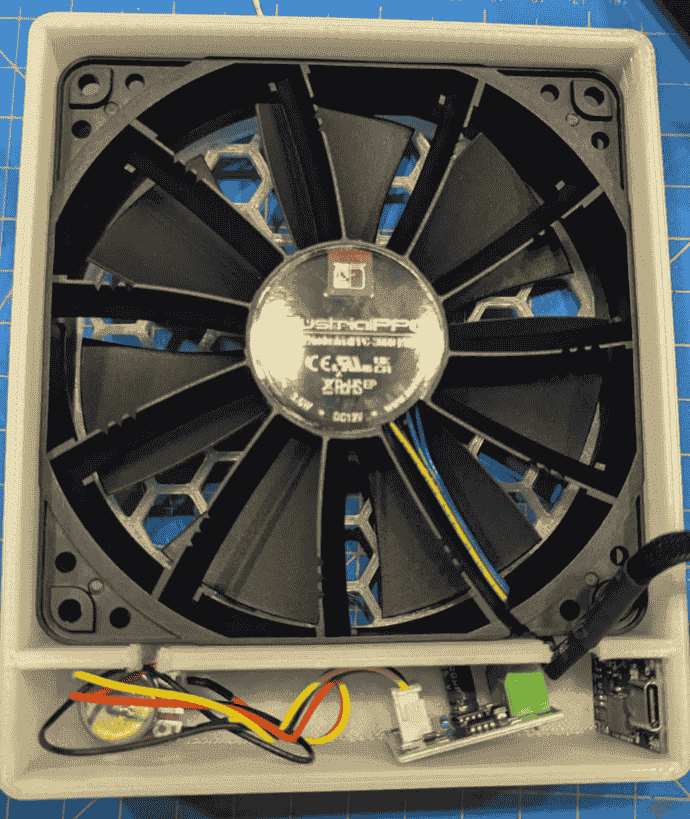
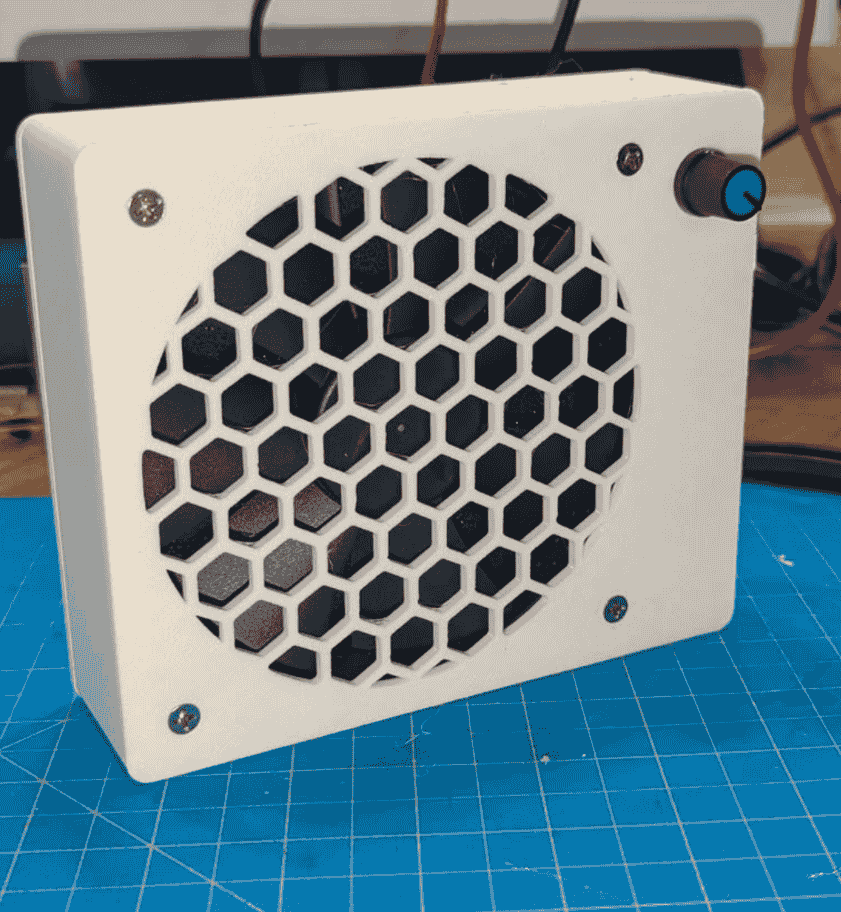
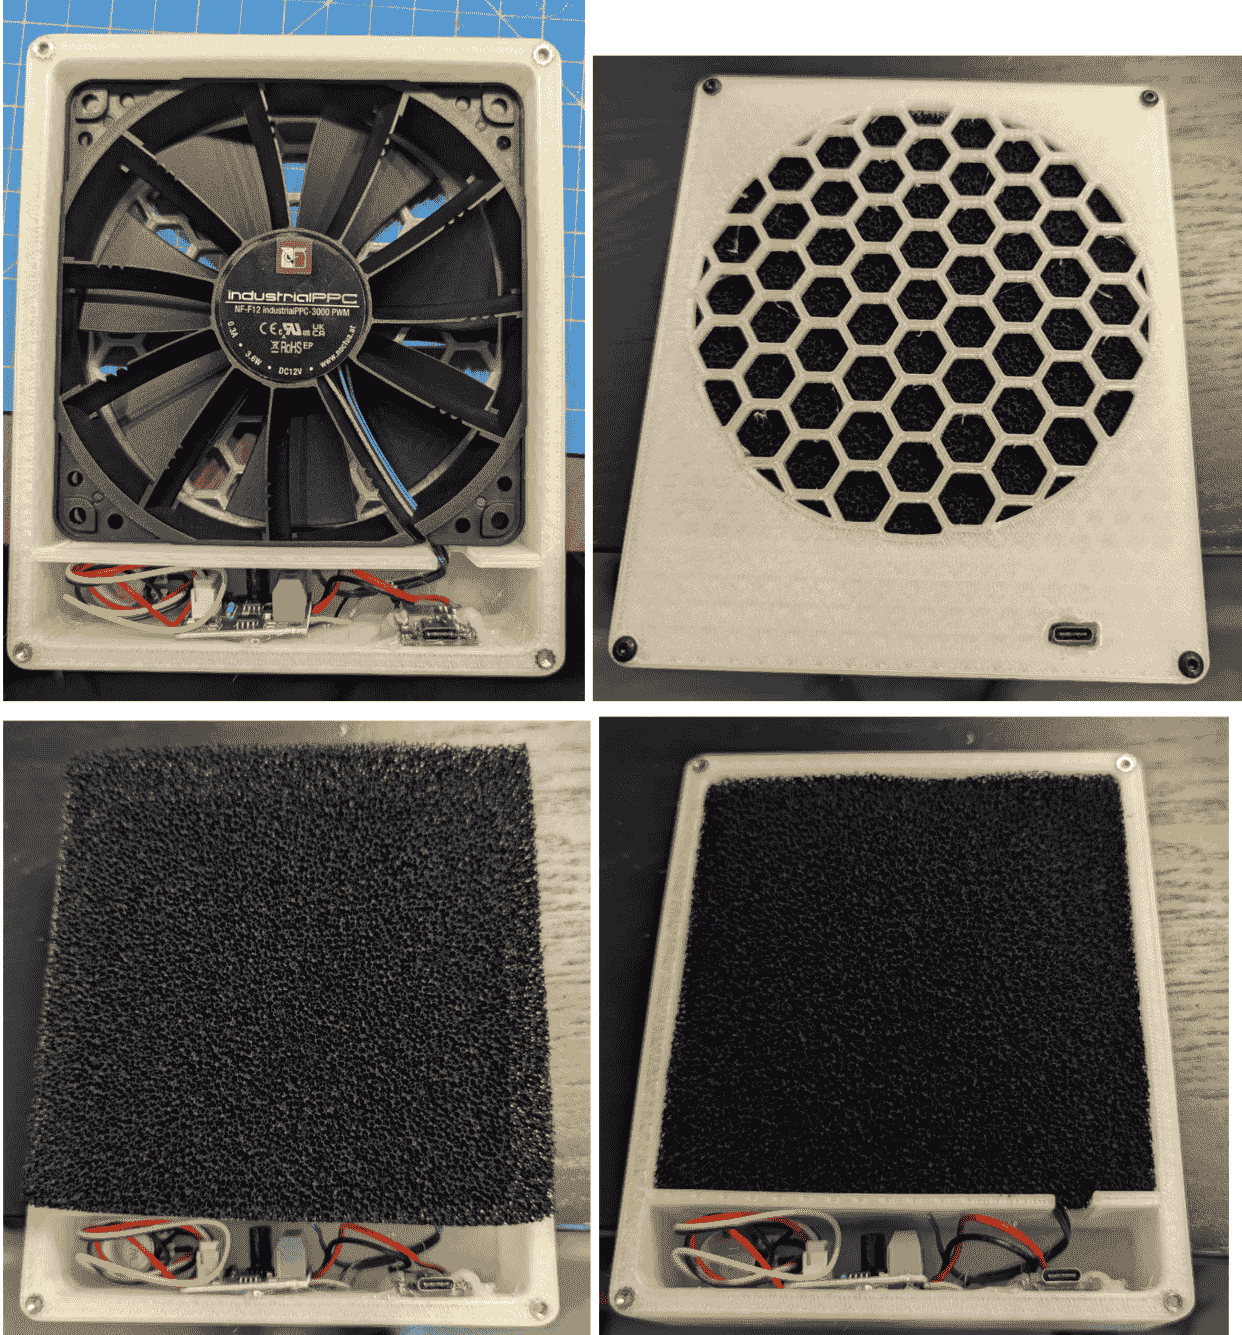
The pictures of the finished product you see here are a different model from the one that I have posted on printables. This one is a friction fit for the fan while the one printables will accommodate most any 120mm fan but will most likely require fan screws to prevent the fan from rattling around in the case. Also the usb-c port is fixed on the finished model vs the jank job I did with a soldering iron on this one. I’ve also added a place for a ¼-20" threaded insert on the side of the case, so you can put the fan on tripods and the likes. It can also accommodate a filter behind the fan. I hot glued all of the components into the case to prevent them from moving.
Anyway this build was really fun to do and use a lot of different skills: soldering, modeling, and assembly. Thanks to all the designs on Printables that inspired me. Here is the collection of models that inspired me.
Edit 6/20/25 I ended up doing a lot of extra prototyping to make something that I was comfortable uploading to Printables. The main issue I had to fix was with the usb-c power supply that I was using was unreliable and would just randomly cut out so I switched to this one (set to 12V) (that parts list has been updated with this one as well) and haven’t had any problems. A couple of small things that took a lot of adjustment to get right was the usb-c port and the hole for the notch of the pwm dial. I would think that I was done only to try a different usb-c cord and realize I needed to make the hole bigger. Like I mentioned earlier I added a hole on the side for a ¼-20” threaded insert and made the fan compartment larger to accommodate most any 120mm fan or a Noctua 120mm with the rubber still on the corners as well as holes for fan screws on the front. With all these changes I am ready to upload this model to printables and hope to see someone make it!