I’m a college student and last semester did not go very well. I was taking a lot of classes where I had to take physical notes and keep track of a lot of different handouts. Basically I had a bunch of paper that I needed to keep organized. So I went to target bought a binder and some separators for it and started to organize. This worked for a little bit but eventually the paper won the war of attrition.
The problem was that up to this point in my college studies I have been doing the majority of document organization digitally. I had become jaded by physical documents. I decided paper was the enemy.
The solution a digital way to take notes that require handwriting for classes like math and physics. The obvious answer is to just buy an ipad. But ipads are expressive…
This is how I was able to digital note take for ~$40.
Step 1 wacom tablet
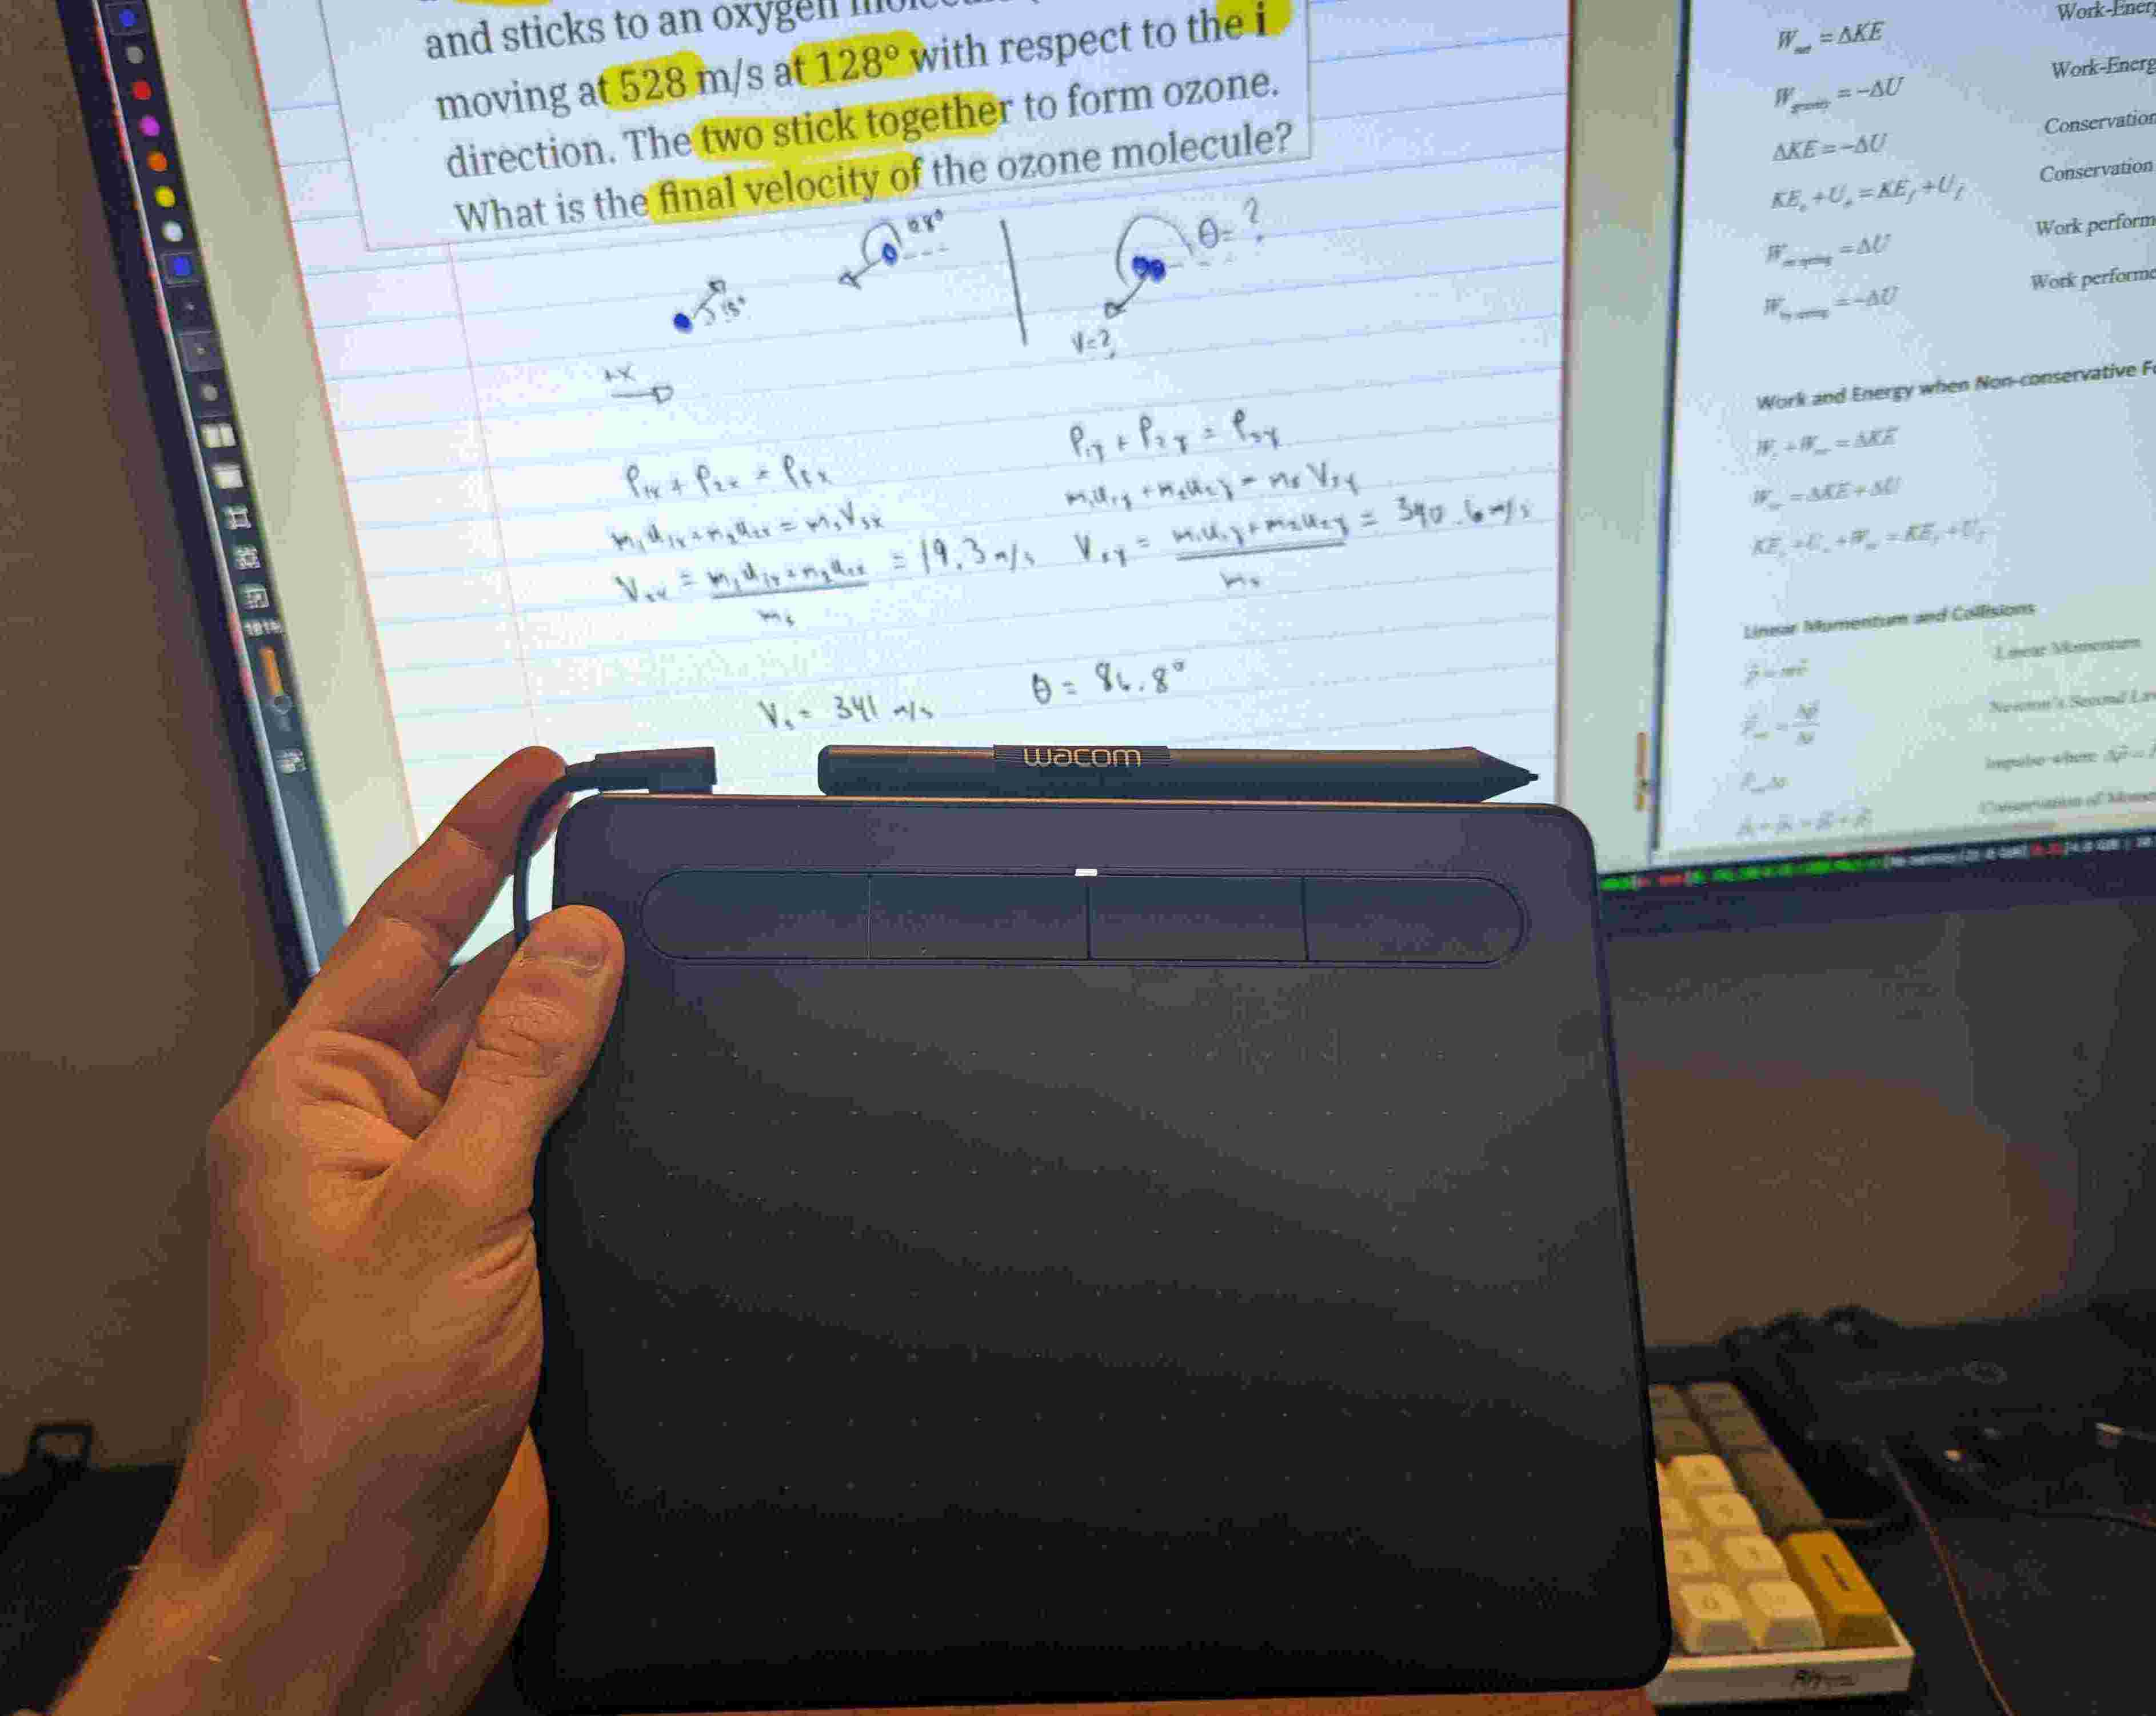
First I had to pick a drawing tablet. The main factors I was considering were reliability and functionality. I wanted something that would just work. So I went with this Wacom tablet, and I went with the usb rather than the bluetooth version for better reliability for just under $40.
Step 2 Drivers
Like I said I wanted something that would ‘just work’. I needed something that had compatibility with my preferred operating system Linux. Before purchasing the tablet I made sure that it had solid drivers for Linux. The arch wiki article on Wacom tablets was my main resource for this. The tablet worked out of the box, but I did install the KDE configuration module since I was using KDE on my desktop at the time. But recently I switch to i3 and now I just use xsetwacom to set the tablet to only map to a single display instead of multiple. Overall it was a seamless experience and on my laptop I haven’t even had to install any additional packages.
Step 3 xoural free open source note taking software for Linux.
Now it’s time to start taking notes all I need is an application for note taking. I starting trying different notes taking apps. First I looked to see if there was handwriting support for Obsidian which I was already comfortable with, but due to Obsidian using markdown it only supports simply text. Then I tried Rnote which looked very similar to the ipad note taking app that I was attempting to emulate. Rnote was cool but it did not make it easy to change between the pen, eraser, and hand with the buttons on the stylus and it was clunky when it came to importing pdfs. Thus I landed on Xoural++ which while it looks a bit dated offers all the functionality I need. Customization of the stylus buttons and application layout. Seamless importing of pdfs. And stability. I’ve been using it for the better part of 3 months without any problem.
Step 4 github repo
The last piece of the puzzle is a way to sync the files on my laptop to the files on my desktop. This needed to be done because I take my laptop to school and take notes and work on homework at school. Then I come home and want to continue my work on my desktop. I could just use a usb drive to store all my school files but that seems primitive and is a single point of failure. I decide to use a tool that I had already been using for this very purpose only I was using it for code instead of notes. That tool is github. I had been using github for all of my computer science projects to seamlessly move between my laptop and desktop. As well as using it to sync my Obsidian vault between machines and even my phone. So I set up a repo for my notes. But since pdfs are a lot larger than plain text files it’s likely that I will hit the limit of a github repo so after the semester ends I will take all of the files from my classes and back them up onto my main machine and remove them from the repo and start fresh for the next semester.
Forget spending hundreds of dollars on an ipad just to avoid paper. Just buy a $40 tablet and use some open source software.